Overview
You want to apply a credit of a particular amount to one or more customer accounts.
Solution
Apply credit to a single customer account
Below are the steps to apply the credit for one customer account:
- Login to your CSR site.
- Search for the customer using their account number using the top search bar
- Go to
Activity > Adjustments. This will open a new tab. - Add the appropriate values for the various fields and click
Add Adjustment:
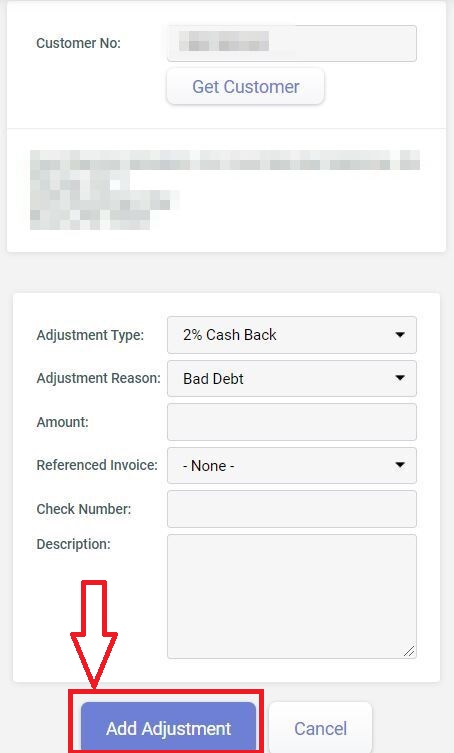
This entry can be seen by searching for the customer and going to the AR / Billing tab.
Apply credit to multiple customer accounts in bulk
If you want to apply credit for multiple customers in bulk, then open a Support ticket with the list of customer numbers and the below information:
- Adjustment Type
- Adjustment Reason
- Credit Amount
- Referenced Invoice
- Check Number
- Description (i.e., reason for credit)
The first 3 fields are mandatory. The different available values for the first 2 fields can be found by following the first 3 steps from the previous section. If any of the remaining fields are not applicable, then mention that in the Support ticket.
<supportagent>
Get the customer IDs of the customers specified by the client and the Adjustment Type ID:
- Login to the Jump server 10.185.40.141.
- Open Microsoft SSMS and connect to
aes.cons.com. - Select
New Queryin the top bar. - Get the customer IDs:
use <client specific database>;
select custID from Customer where CustNo IN ('<customer number 1', 'customer number 2', ...);
Copy the customer IDs into an Excel sheet and save them.
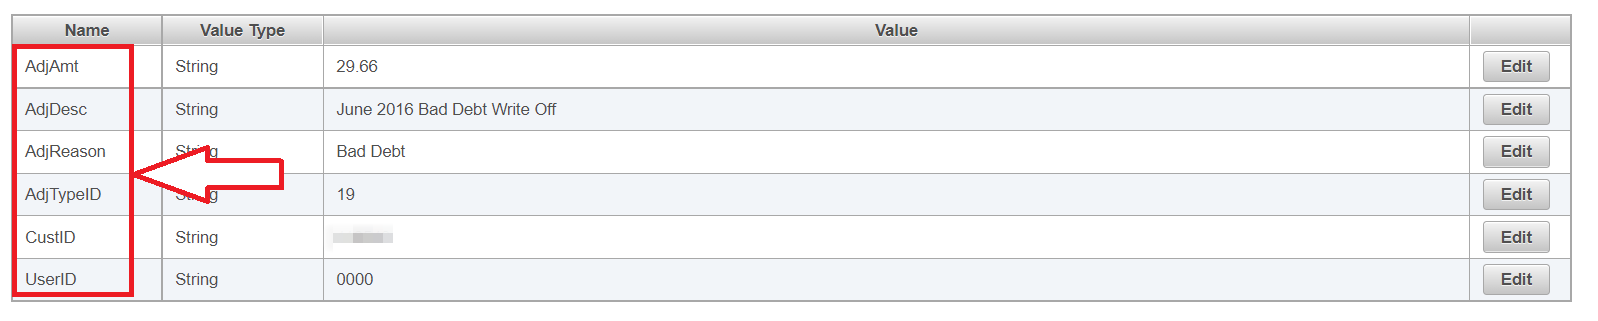
- Get the ID for the
Adjustment Typespecified by the client:
use <client specific database>;
select ARAdjTypeID from ARAdjustmentType where Description = '<client provided Adjustment Type>';
Perform the bulk update:
- Login to QAT.
- Click
Query Management. - Enter 883 in the
Idfield. - Click
Search. - Scroll to the bottom of the page and create a CSV file using the column names as mentioned. The previously saved customer IDs will be used here:
</supportagent>
Priyanka Bhotika
Comments